Building Production-Quality Shiny Applications
Eric Nantz
Meet the Team!
Eric Nantz

Power-On (Setup)
Follow Setup Procedure to connect with the workshop resources:
- RStudio Connect
- RStudio Cloud
- Account Integrations
The Beginning …
A New World
Many Users
High-Profile Situations
Part of a Critical Pipeline
The Journey Ahead
Production has more than one meaning for Shiny apps
The tooling & principles discussed in this workshop will guide you to the destination
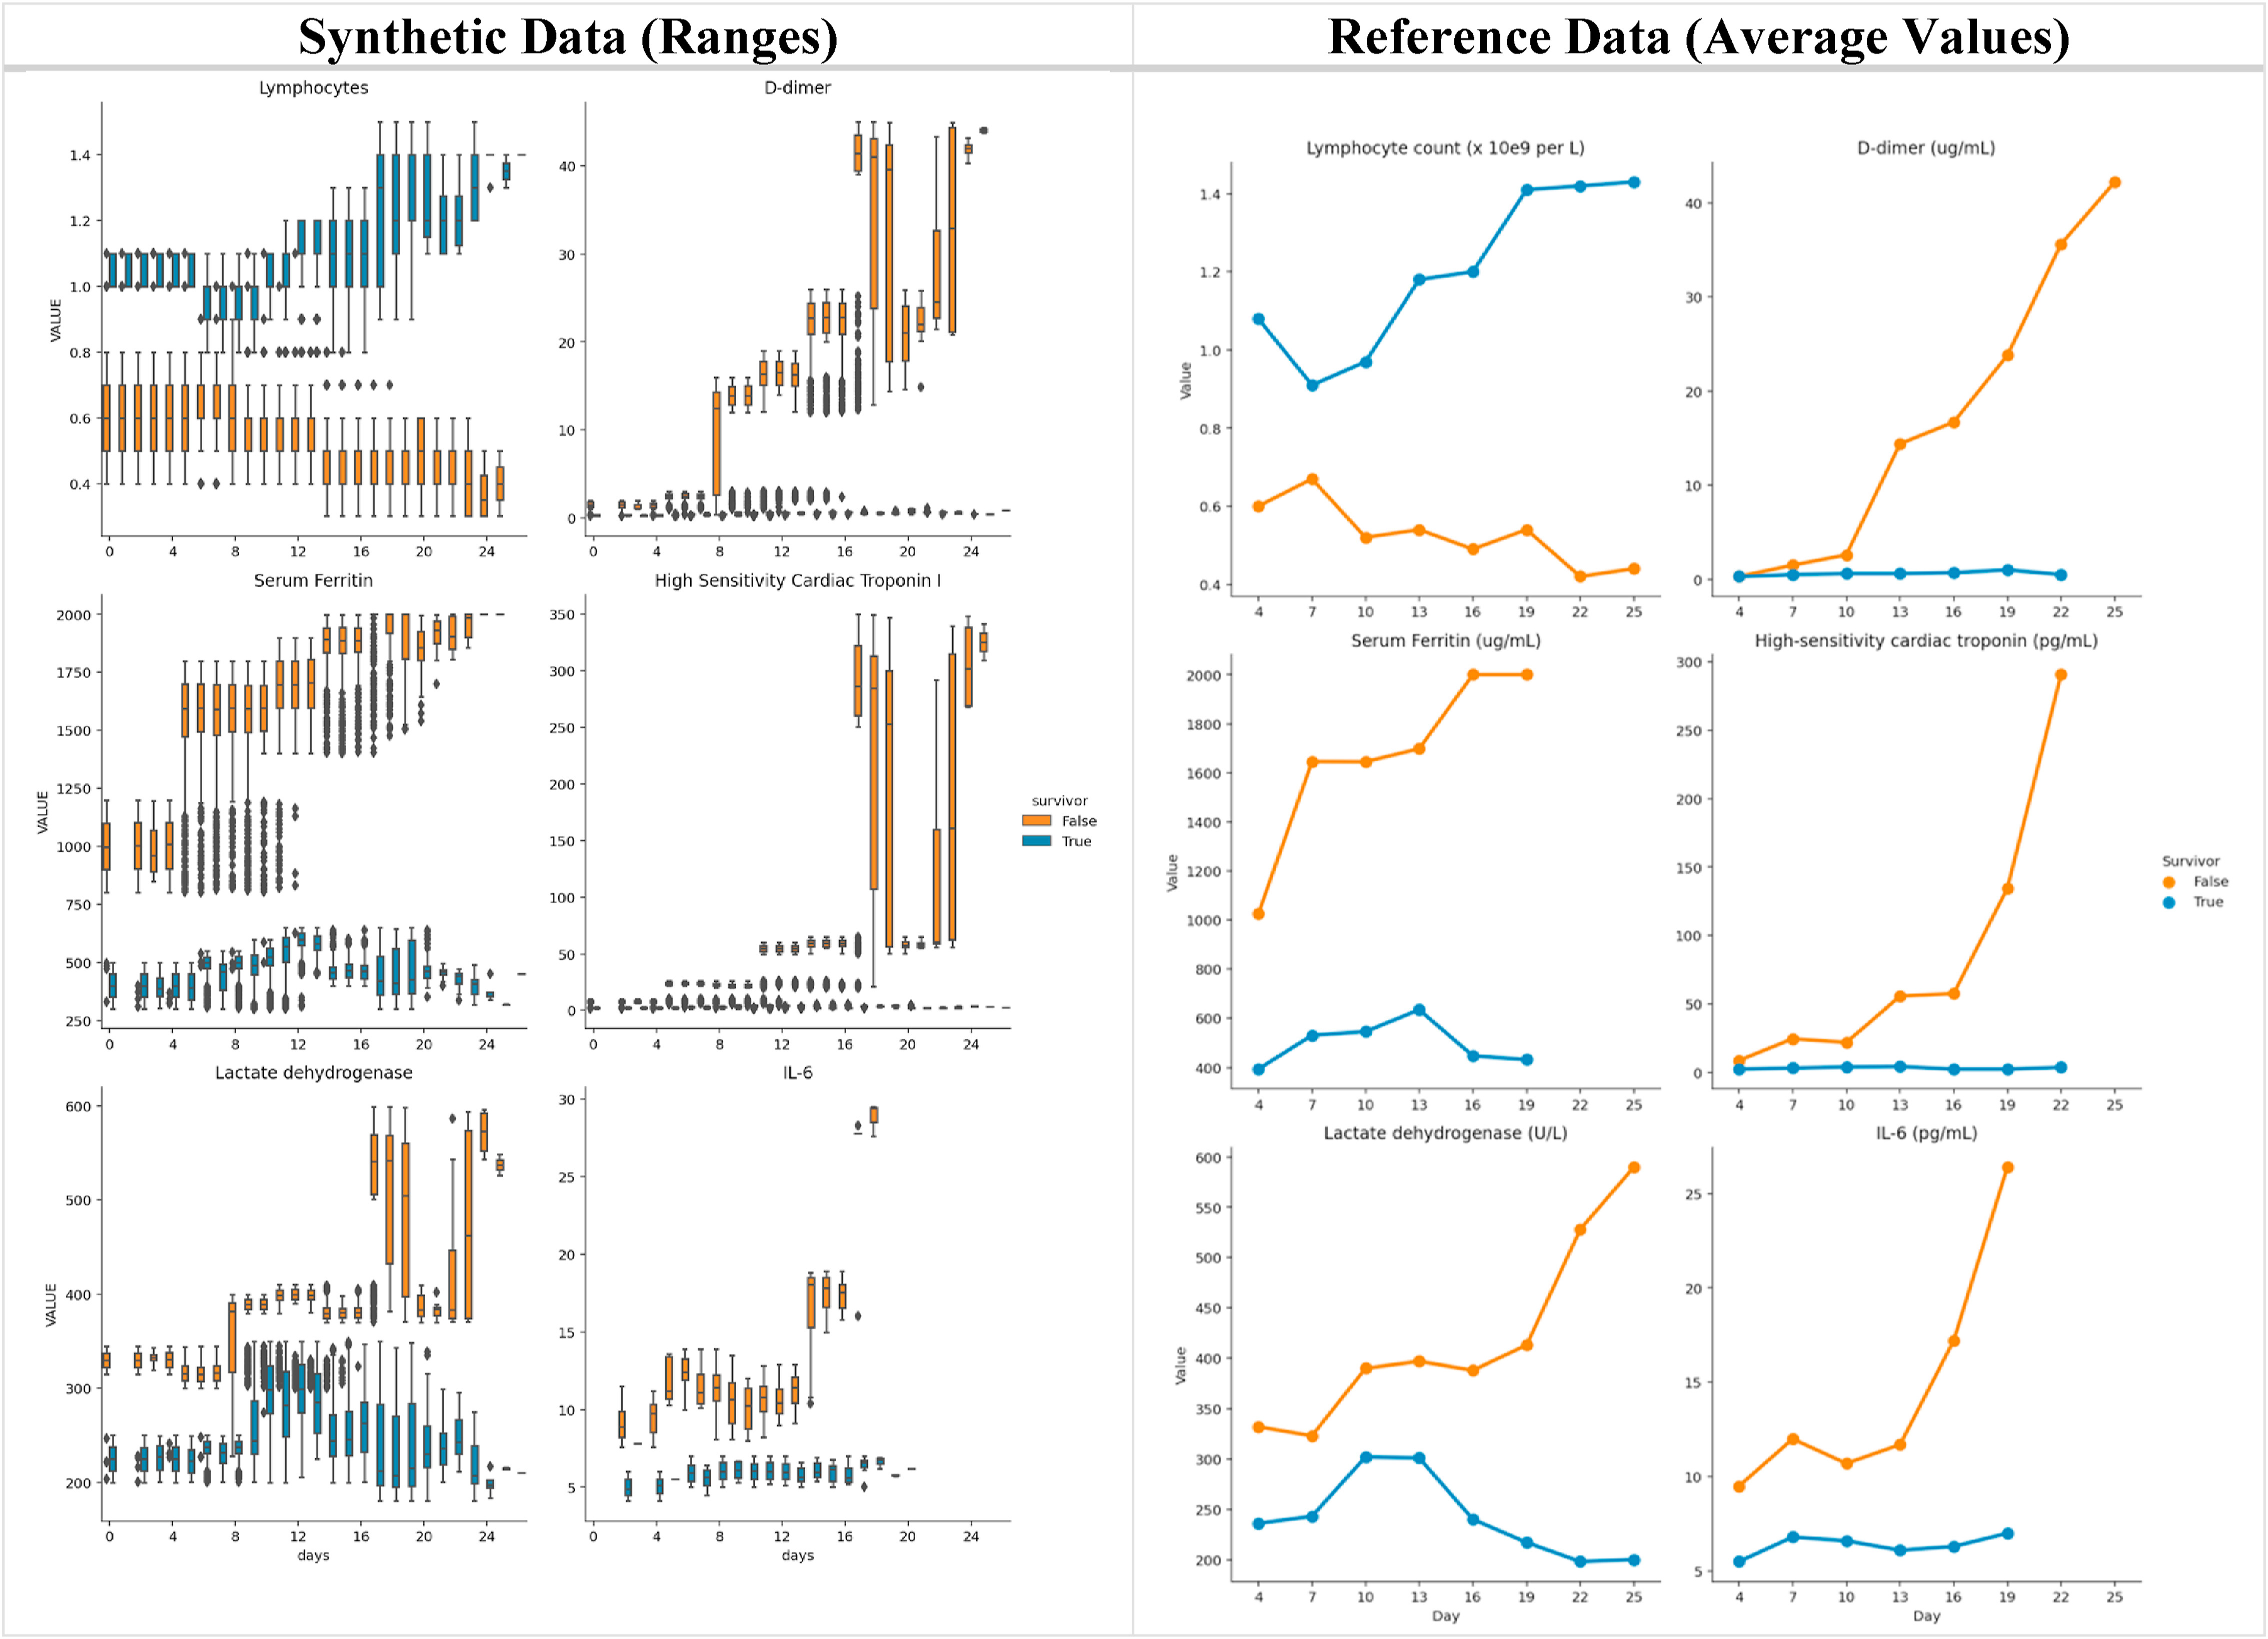
Synthetic COVID-19 Data
- Over 124,000 synthetic patients generated using open-source Synthea Tool
- Longitudinal records of simulated COVID-19 progression leveraging resources & publications known in early 2020

(Data) Disclaimer …
Our Requirements
We will build a Shiny application simclindata.shiny in the spirit of many Life Sciences projects:
- Integration of multiple (large) data sets for analyses and visualization
- Interactive explorations linking multiple displays
- Clean & Logical user interface and overall user experience
- Maintainable code organization and dependencies
Development Best Practices
All About Perspective

R is the standard-bearer for data analysis tooling
Shiny App Development
Not just providing another interface for data analysis
You are engineering an entire workflow
This Could Happen to You


Thinking of You
These principles can guide (future) you on the right path:
- Deliberate control of app dependencies
- Managing code complexity with native R frameworks
- Creating modules for streamlined organization and re-usability
Others not covered today
- Rapid prototyping in design process
- Defending against regressions with testing
- Version control for collaboration and peace of mind
Application Dependencies
It’s Never Just Shiny
… at least for production-quality apps!
- External data sources
- Connections to other execution backends
- Additional R packages!
Turned Upside-Down
Imagine your application is working great!
Turned Upside-Down
ggplot2 version 0.9.3

ggplot2 version 1.0.0

Take Control with {renv}
Create reproducible environments for your R projects.
- Next generation of
{packrat} - Isolated package library from rest of your system
- Transfer projects to different collaborators / platforms
- Reproducible package installation
- Easily create new projects or convert existing projects with RStudio or built-in functions.
Under the Hood
Upon initializing a project:
- Project-level
.Rprofileto activate custom package library on startup - Lockfile
renv.lockto describe state of project library renv/libraryto hold private project libraryrenv/activate.Rperforms activation
Application Structure
Enter the {golem}
Opinionated framework for building production-grade Shiny applications as R packages
- Scripts guide you with first steps akin to
{usethis}&{devtools} - Encourages Shiny best practices (especially modules)
- Streamlines deployment on multiple platforms
What are Modules?
Building blocks to compose any Shiny app out of smaller, more understandable pieces
- Avoids namespace collisions when using same widget across different areas of your app
- Allow you to encapsulate distinct app interfaces
- Organize code into logical and easy-to-understand components
- Facilitate collaboration
Sound familiar?
- R functions also help avoid collisions in variable names with general R code
- Essential for creating non-trivial and extensive workflows
Anatomy of a Function (UI)
Anatomy of a Module (UI)
Anatomy of a Module (UI)
Anatomy of a Module (Server)
Anatomy of a Module (Server)
Anatomy of a Module (Server)
🤔 id
- `
moduleServer(): Encapsulate server-side logic with namespace applied.
Invoking Modules
Giving and Receiving
- Reasonable inputs: static values, vectors, flags
- Avoid reactive parameters
- Return value:
tagList()of inputs, output placeholders, and other UI elements
Giving and Receiving
artServer <- function(id, df, title = "My Plot") {
  moduleServer(id,
    function(input, output, session) {
      user_selections <- reactive({
        list(input1 = input$input1, input2 = input$input2)
      })

      output$plot1 <- renderPlot({
        ggplot(df(), aes(x = x, y = y)) +
          geom_point() +
          ggtitle(title)
      })

      user_selections
    }
  )
}- Input parameters (and return values) can be a mix of static and reactive objects
To () or not to ()
artServer <- function(id, df, title = "Amazing") {
  moduleServer(id,
    function(input, output, session) {
      user_selections <- reactive({
        list(input1 = input$input1,
             input2 = input$input2)
      })

      output$plot1 <- renderPlot({
        ggplot(df(), aes(x = x, y = y)) +
          geom_point() +
          ggtitle(title)
      })

      user_selections
    }
  )
}- Reactive parameters reference by name:
df - Inside module, invoke reactive parameter as you would any other reactive in Shiny:
df() - Any reactive(s) returned by module should also be reference by name:
user_selections,user_selections()
Code-Along
Applying {golem} & {renv}to our simclindata.shiny application
Databases and Shiny
SQL Jedi

{dplyr} Jedi

Interface to Databases: {DBI}
Unified set of methods & classes bridging interfacing R to database management systems (DBMS)
- Connect and disconnect from DB
- Execute queries
- Extract results
- Obtain metadata when available
- Each DBMS supported by a dedicated package
All About Connections
You have used connections in R (and may not realize it)
read.csv("path/to/file.csv", stringsAsFactors = FALSE)

readr::read_csv("path/to/file.csv")

openxlsx::write.xlsx(df, file = "/path/to/file.xlsx")
Behind the scenes: connections are dynamically created (and terminated) during file input/output.
Database Options
- Relational databases come in many flavors
Defining Connection
Applying your {dplyr} Skillz
{dbplyr} provides automatic translation from dplyr syntax to SQL statements
- Integrates with connection objects created by
{DBI} - Calls are evaluated lazily: Only when you request results
- Common dplyr verbs supported out of the box
Applying your {dplyr} Skillz
Connections in Shiny

Logical ways to manage connections when developing solo
Connections in Shiny

- Many users creating connections
- Potential for degraded performance in your app
Enter the {pool}!
Abstraction layer on top of database connection objects
- Holds a group of connections to database
- Knows to expand or reduce connections as needed
Let’s Dive In
- pool object a drop-in replacement for con
- Each query goes to the pool first, then fetches or initializes a connection
- Not necessary to create connections yourself
Code-Along
Optimize backend calculations in {simclindata.shiny} with SQLite database
Design & User Experience


But … I’m not a Web Designer?
- Wealth of packages available in the Shiny ecosystem
- Plug-in favorite theme styles
- Ability to go as low-level as desired with CSS and JavaScript
💡 It’s not all about you! (That’s good)
Language of the Web
Shiny
dept_choices <- c("Ancient Near Easter Art", "American")
selectInput(
  "dept",
  "Select Department",
  choices = dept_choices
)
HTML
<div class="form-group shiny-input-container">
  <label class="control-label" id="dept-label" for="dept">
    Select Department
  </label>
  <div>
    <select id="dept" class="form-control">
      <option value="Ancient Near Easter Art" selected>Ancient Near Easter Art</option>
      <option value="American">American</option>
    </select>
  </div>
</div>
Multiple Levels of Abstraction
Empowers users across spectrum of design experience
Cascading Style Sheets (CSS)
Set of rules that define how HTML content is presented in the browser
- selector defines which elements on page to apply rule
- property list set properties of elements to specific values
Customizing CSS in Shiny (1)
Customizing CSS in Shiny (2)
Customizing CSS in Shiny (3)
Code-Along
Streamline the design of {simclindata.shiny} with a pinch of customization


